This post contains affiliate links. I may receive a commission if you purchase an item or service I recommend at no extra cost to you. I only recommend products or services I use and love.
Pros and Cons of Soy Wax
Soy wax is a popular choice for many beginner candle makers.
Here are some of the benefits of soy wax candles:
Soy wax is biodegradable which is a characteristic that many people are drawn to. Soy wax also has a lower melting point which means it can burn longer than a paraffin candle.
Oftentimes, people jump into soy candle-making after hearing the benefits of using this wax. I just want to note there are some cons about using soy. Here are the biggest ones:
If you plan on starting a candle business I wanted to make sure you were aware of the pros and cons of using soy wax. The biggest con with soy wax is that it is notoriously hard to perfect the hot scent throw. It's not impossible, but it will take a lot of trial and error.
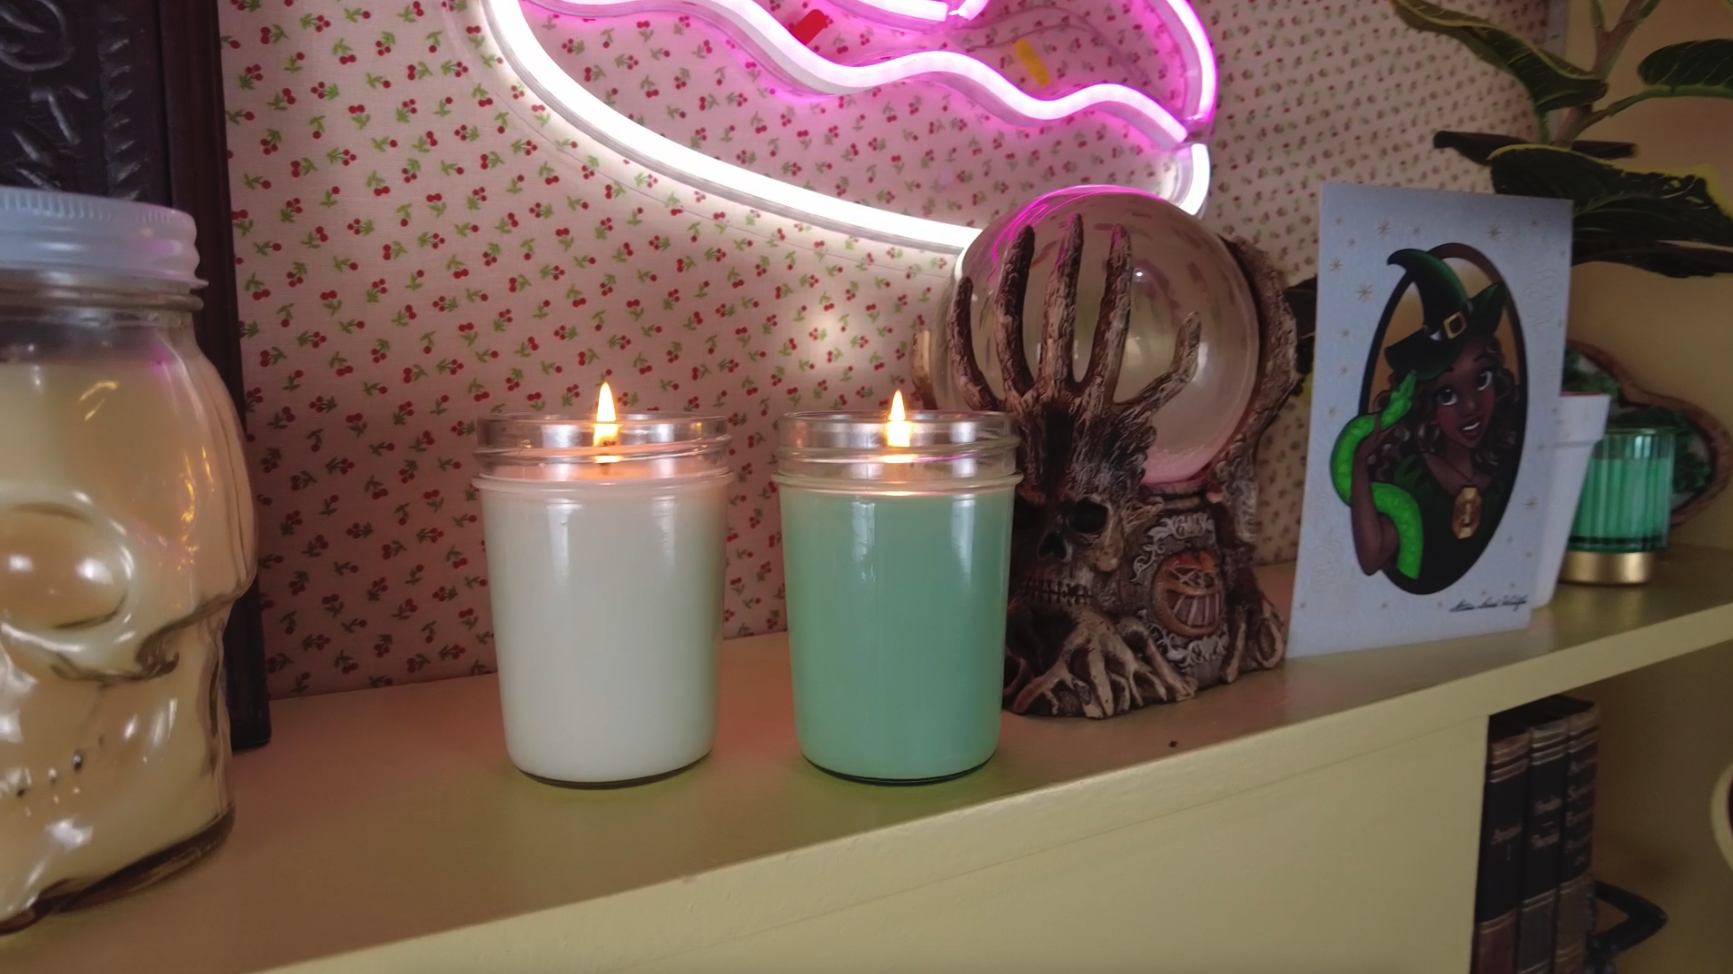
Also, soy wax candles develop frosting. Frosting is normal and does not affect the burn of the candle, but some customers may think the candle "looks old" because of the white spots it develops.
 Frosting
The crystallization of soy wax makes a visible white coating on the finished candle. This is a normal attribute of soy candles. The white crystals are more visible in dyed candles, and virtually impossible to notice in undyed candles.
Another con is soy candles need to cure for at least 5 days. Some candle makers prefer to let their soy candles cure for up to a month.
Alright, now that I have talked a bit about the pros and cons of this wax it's time for me to get into how to make soy candles.
Materials
Pouring pitcher
Thermometer
Rubber spatula
Double boiler
Digital scale
Golden brands 464 soy wax (16oz)
1 oz fragrance oil (not essential oil)
Glass for measuring fragrance oil
Candle dye (optional)
8oz jelly jars (3)
ECO 10 wicks (3)
Wick stickers (3)
Wick stabilizers (3)
Candle Containers
If you are using a different container than me to make your candles you will need to find the appropriate wick. Measure the diameter of the container. Then, head over to the Candlescience wick guide. Choose 464 soy wax from the drop down, and choose the diameter of your container. Here, you will find a wick suggestion to use for this project.
Make sure you are using a candle safe container. Mason, jelly, and salsa jars work great for candle-making. Also, you can use glazed ceramic containers, sealed concrete containers, or candle tins to make candles.
Steer clear of thin materials like wine glasses or pie tins. These containers can overheat and become a hazard.
Fragrance oil vs. essential oil
You may notice that in the materials list I noted to not use essential oil for this tutorial. Fragrance oils are synthetic oils that contain carrier oils, and are made to work well with candle-making. Essential oils do not contain carrier oils. Making candles with essential oils is possible, but the instructions I am giving in this post aren't appropriate for essential oil candles.
Where to buy materials
Do a Google search to see if there are any local candle suppliers near you. Craft stores like Michael's also have a small candle making section where you can find all of the necessary materials to make soy candles.
You can also shop with online suppliers like Candlescience. They have high quality supplies and great customer service.
If you want to test out candle-making before jumping into buying all of these materials you can purchase a kit.
Here is a soy candle-making kit that I found that has everything you need to complete this project.
Making the soy wax candles
1. Melt the wax
Prepare a double boiler. To do this, take a pot and fill it halfway with water. Place the pot on the stove on medium high heat.
To measure the wax take the pouring pitcher and place it on the digital scale. Tare the scale until it reads zero.
Add the wax to the pouring pitcher until the scale reads 1 pound.
Take the pouring pitcher and place it in the double boiler to melt the wax.
2. Prepare the containers
While the wax is melting you will prepare the containers.
Apply 1 wick sticker to the bottom of each wick.
Adhere each wick to the bottom of each container. If you have a plastic straw handy you can insert a wick into the straw to make it easier to firmly place the wick at the bottom of the container.
3. Mix fragrance into the wax
Place a glass measuring container on the scale and tare the scale to zero.
Measure out the fragrance oil until the scale reads 1 oz.
Remove the wax from the double boiler when it reaches 185°F.
Place the pouring pitcher on a heat safe surface.
Add candle dye into the wax until you are satisfied with the color (optional).
Add in the fragrance oil and stir with a spatula for 30-60 seconds.
4. Pour wax into the containers
Place the empty containers in an area where they can cool for at least 2 hours without being disturbed.
When the wax cools to about 155°F pour the wax into the containers, and use the wick stabilizers to center the wicks of the candles.
Allow the candles to cool for around 2 hours before moving.
If you want your soy candles to produce the best scent possible, they will need to cure for 3-5 days before burning.
Video: How to make soy candles
Click to play
Troubleshooting
Lumpy tops
It is very common for soy wax to develop a lumpy or uneven top. This is totally cosmetic and will not affect the burn of the candles.
If you desire to have a smoother finish you can easily correct the issue with a heat gun.
Use a heat gun to completely melt the top surface of the candle. Allow the candle to cool, and you will notice the surface of the candle will be smooth.
When you do go to burn the candle you may notice the lumpy surface will come back. This is normal with soy candles.


Frosting
Like I mentioned earlier, frosting is a normal characteristic with soy. If you plan to add dye to the candles you may notice that the candle will develop white spots on it. There is nothing you can really do to combat this. If you don't like the spots you can leave the wax white or you can use opaque containers.
Sink holes
Sometimes, when the candle has set you will see sink holes near the wick. This can happen quite often when making container candles. To fix this issue, you can take a heat gun and remelt the surface of the candle. When the candle cools you should have a flat surface.
Conclusion
Hopefully, you found this post on how to make soy candles useful. If you really enjoy candle-making here is a post on useful candle making tools that you can check out.
Feel free to comment if you have any additional questions about making soy candles.
Check out my Candle Book!
Candle Craft, A Complete Guide
23 Stylish Projects & Small-Business Tips


Cart